PROCESS: WALL
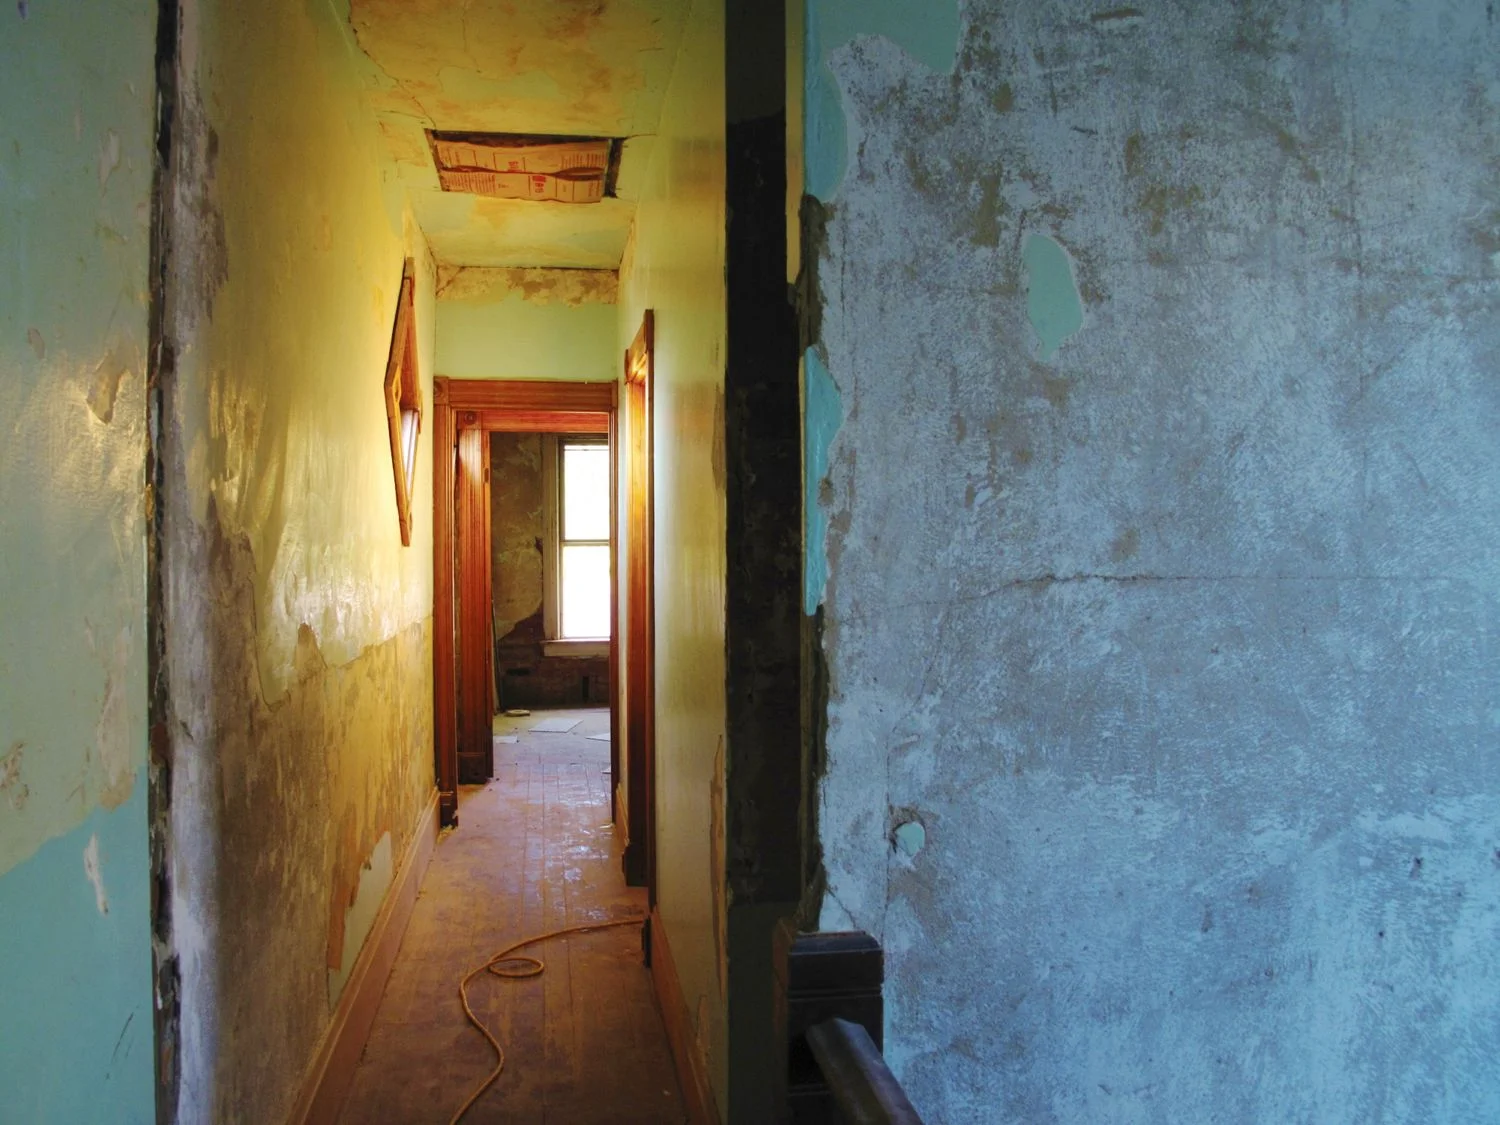
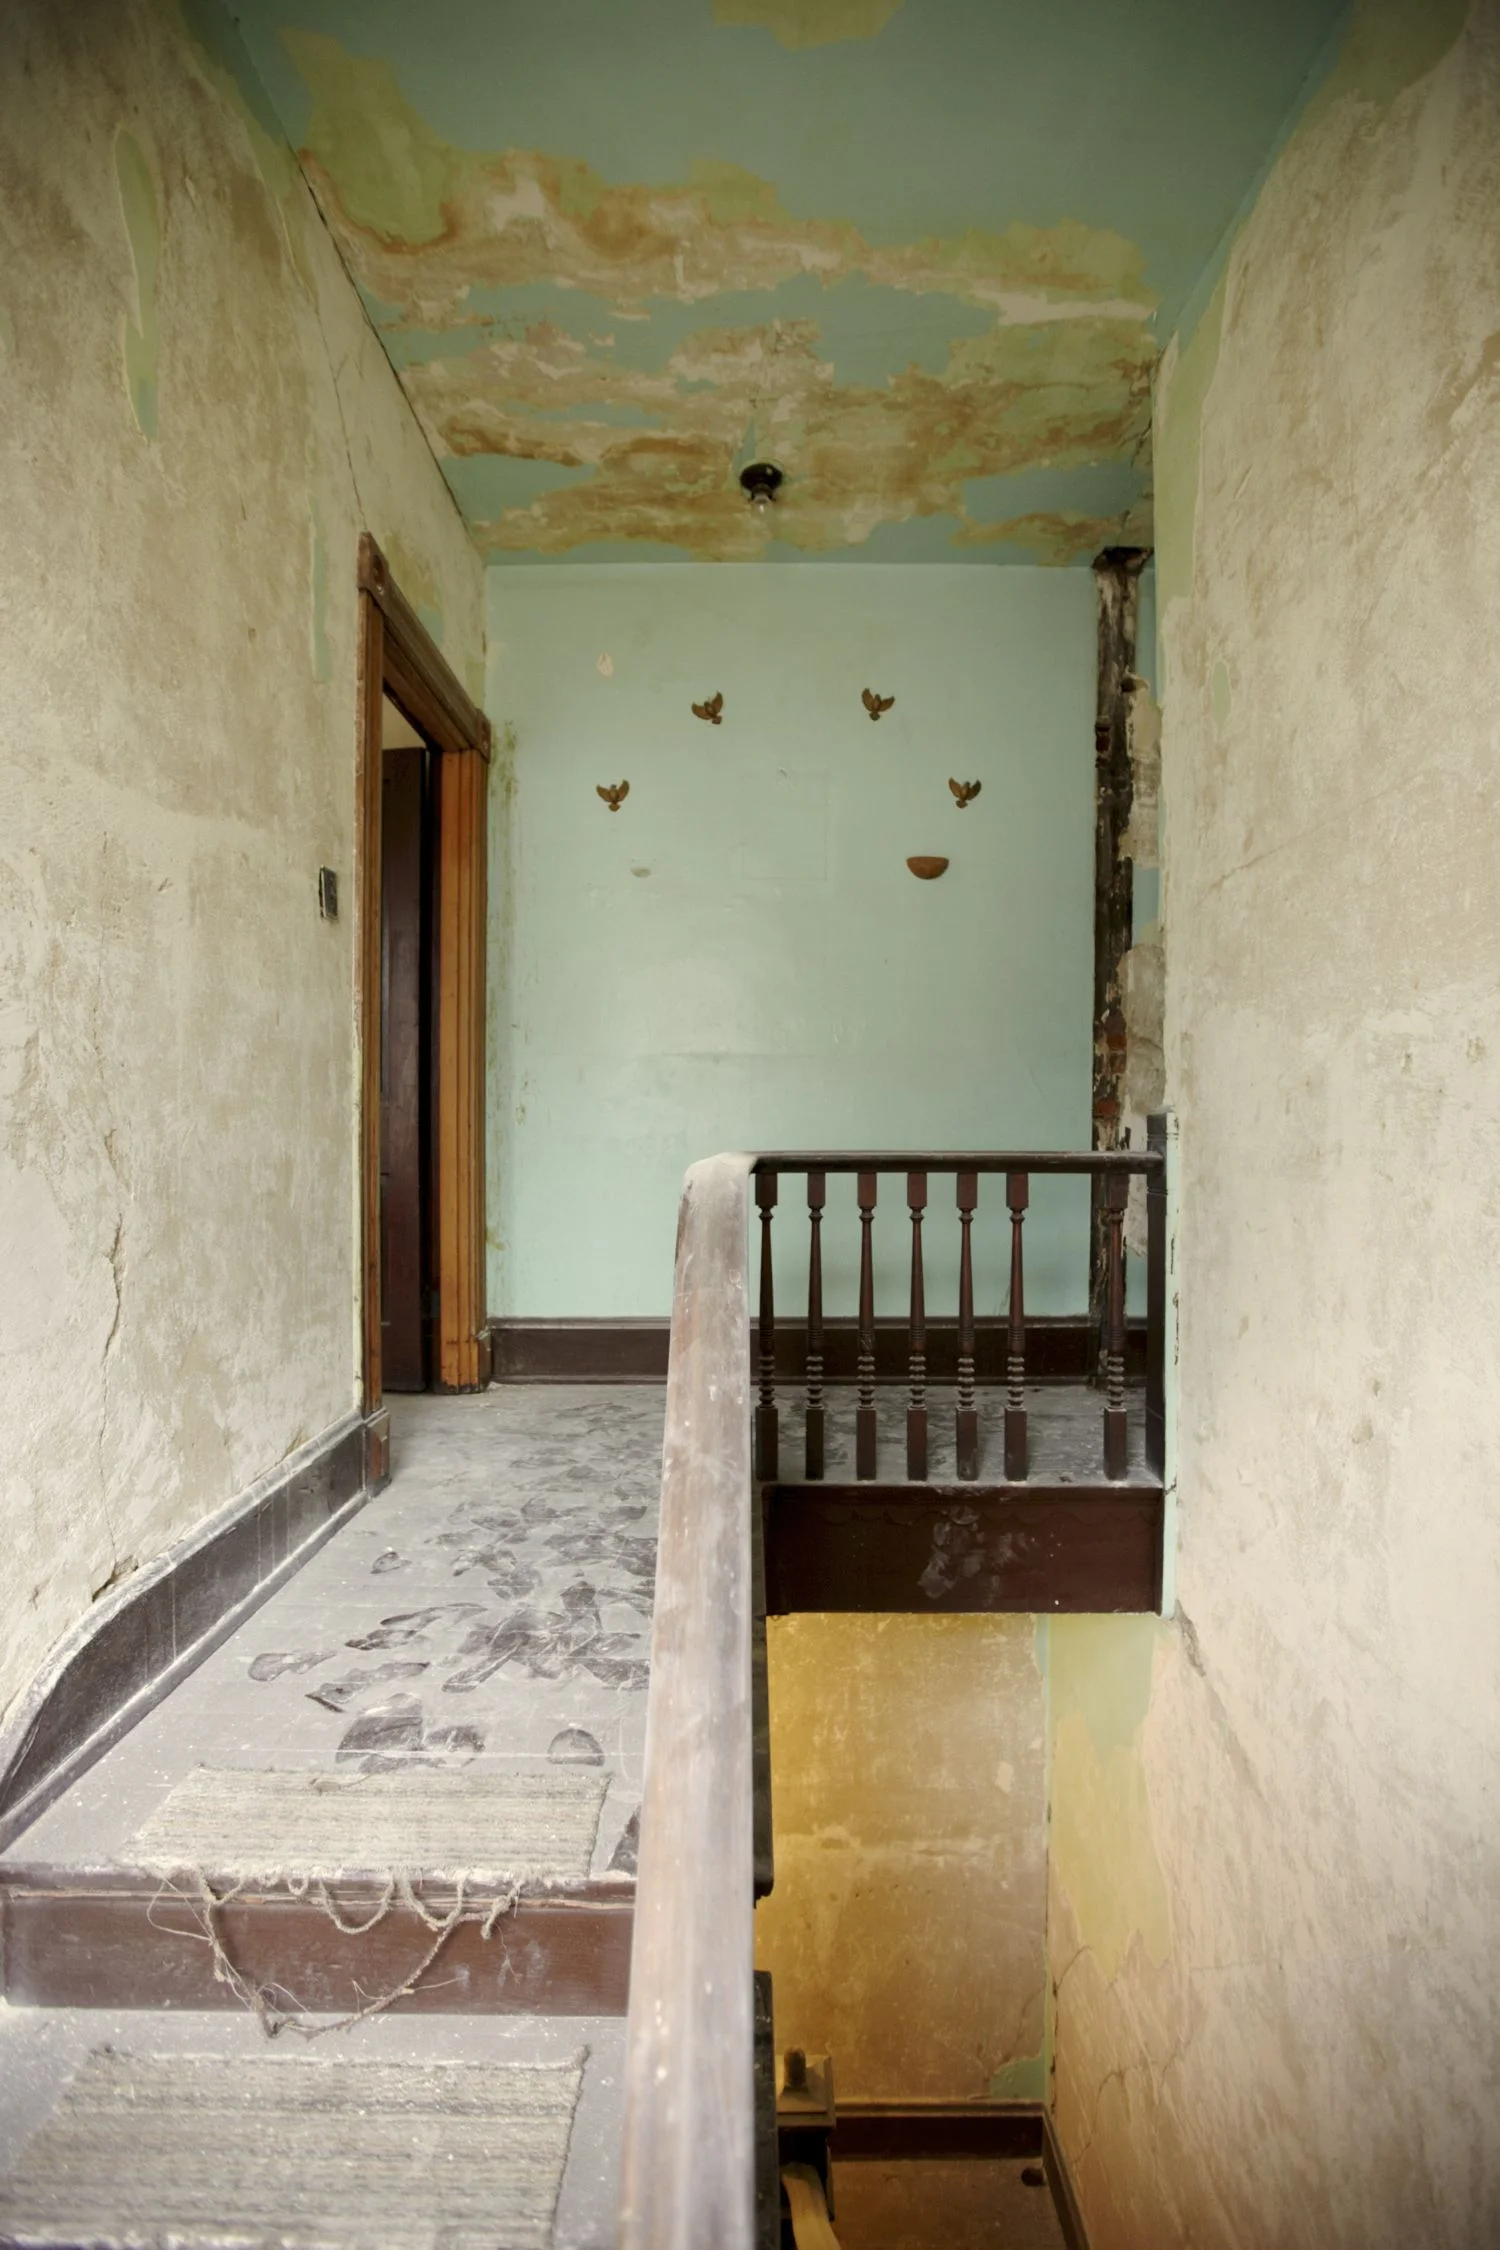
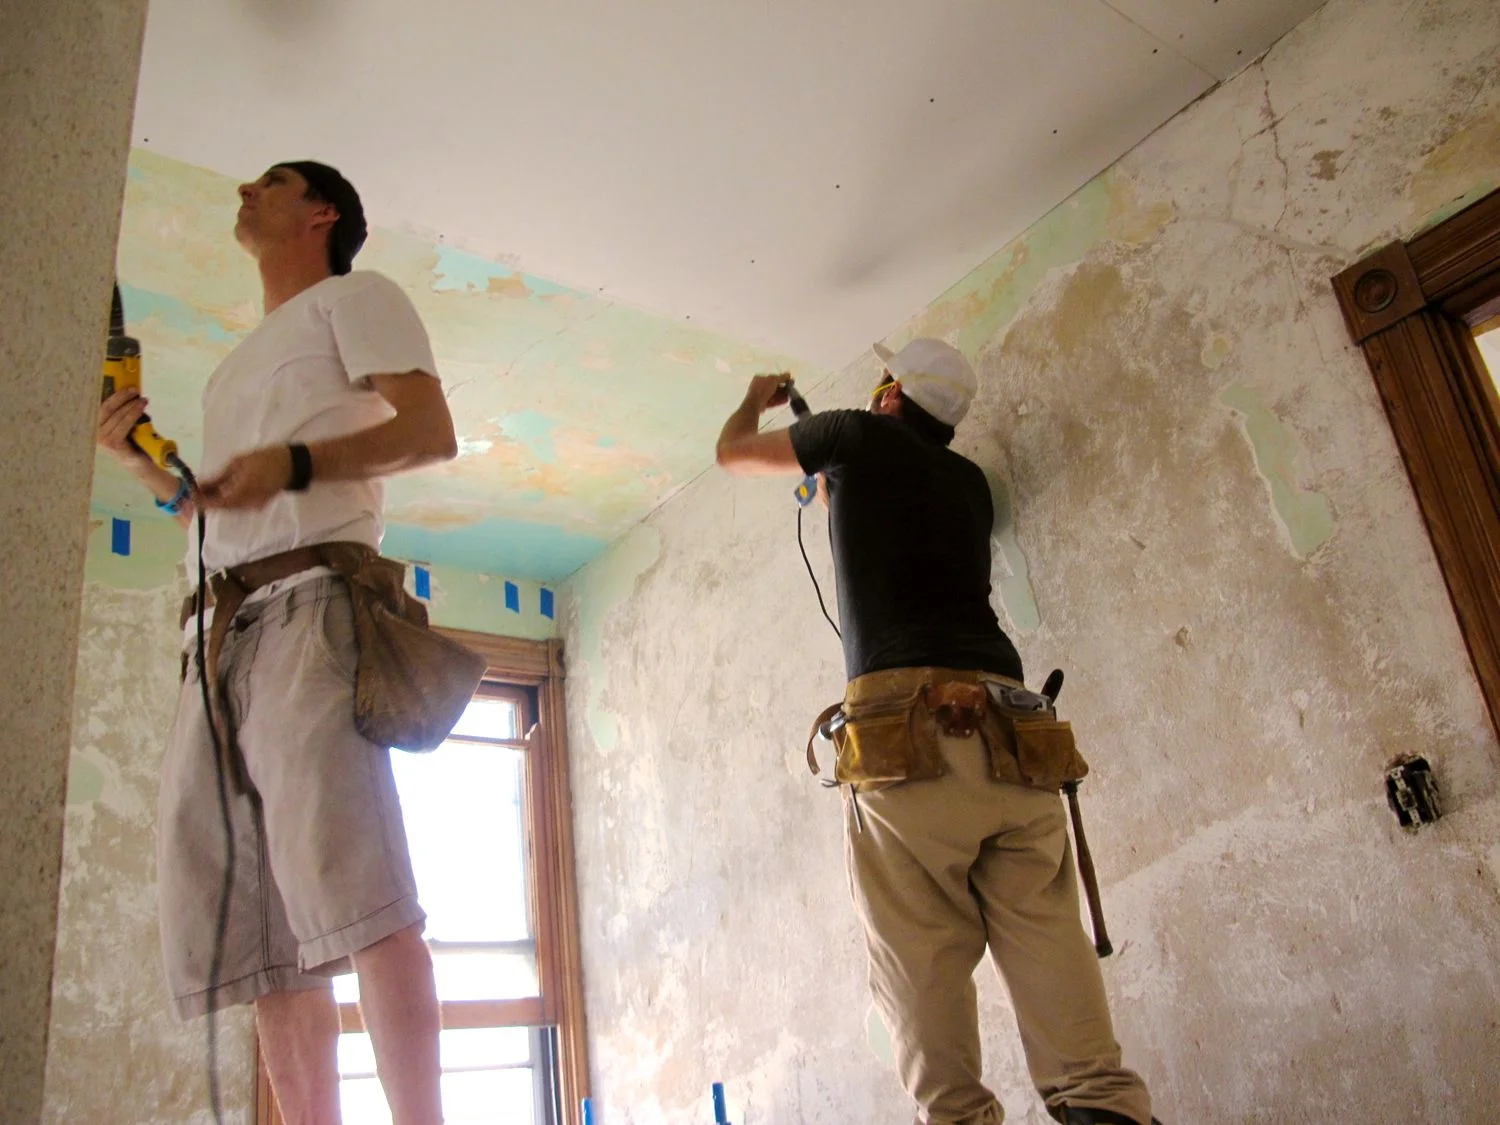
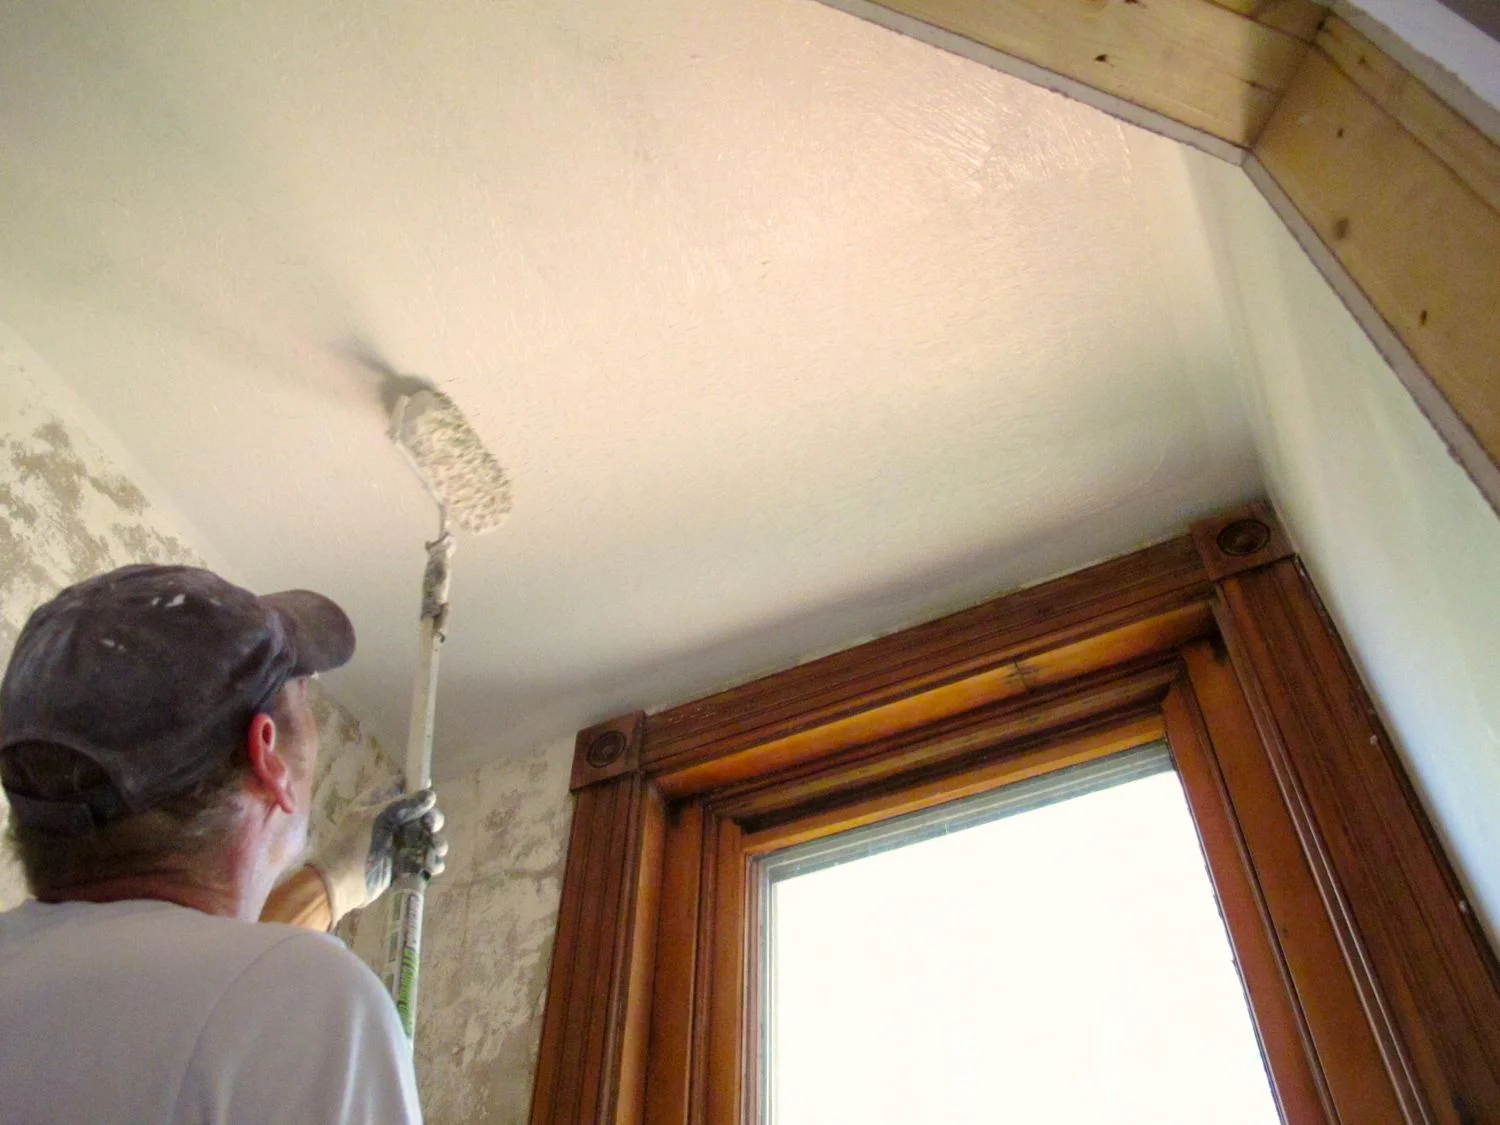
The walls of the Circle House constitute a key defining feature of the revitalization process. As this collection of images documents, not every wall received the same treatment. Mark removed a layer of plaster in some areas while repairing and painting others.
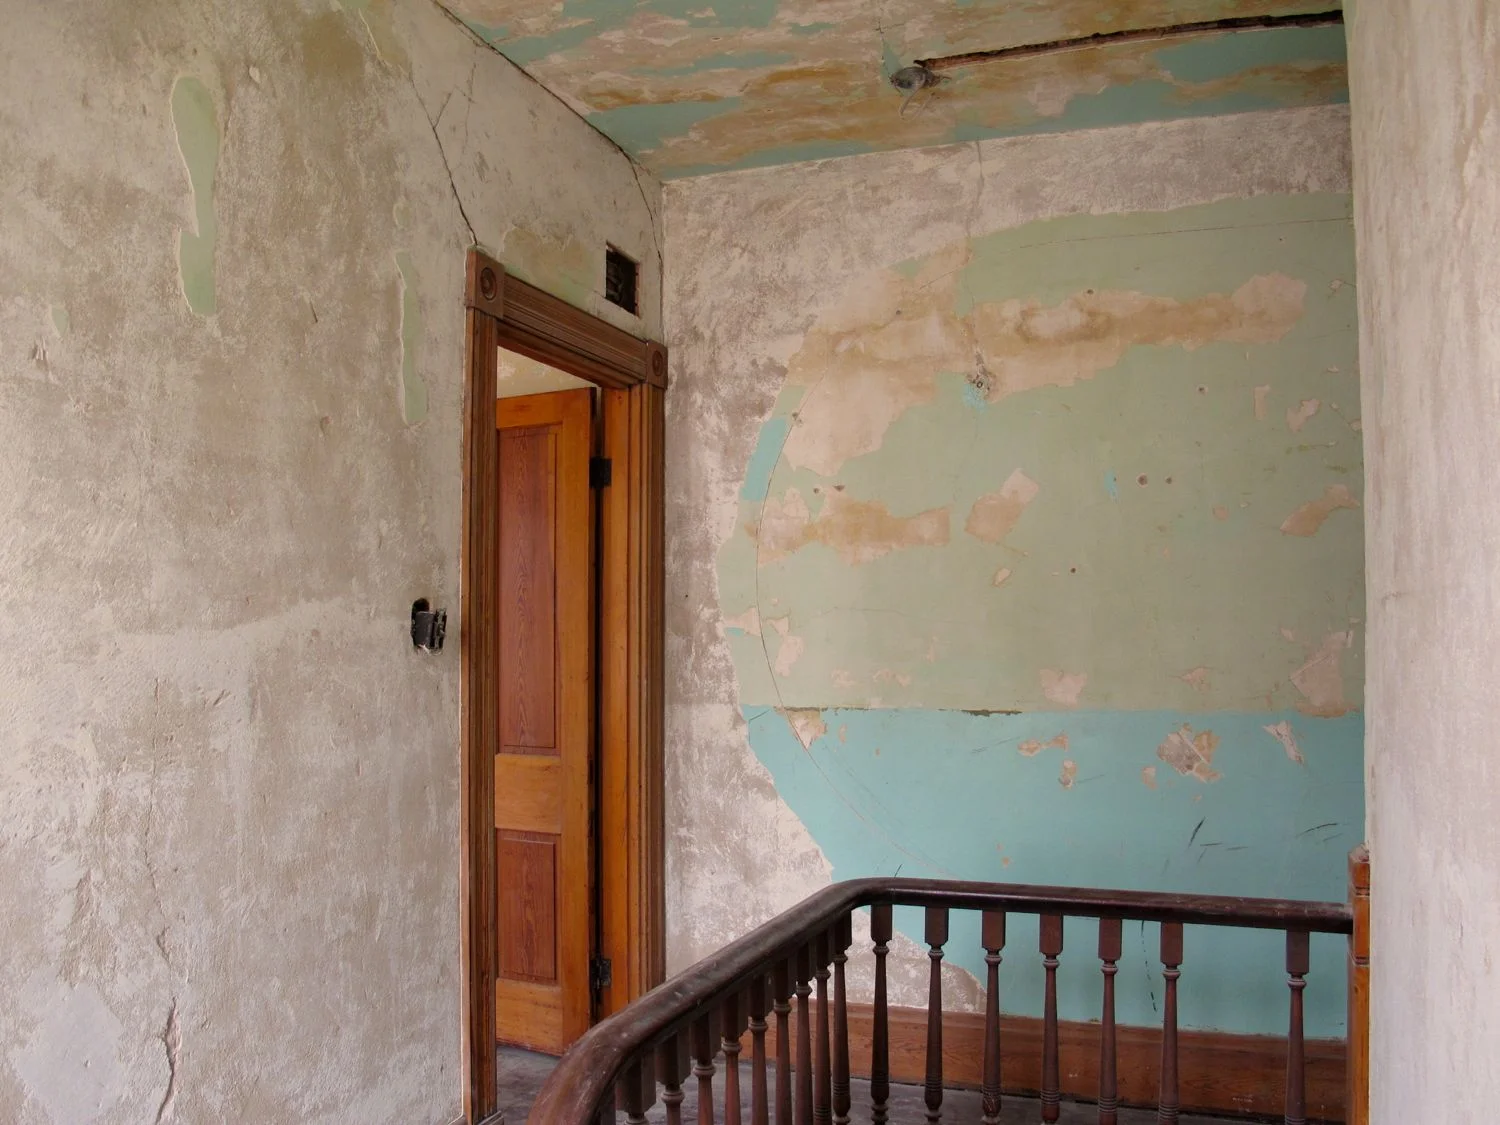
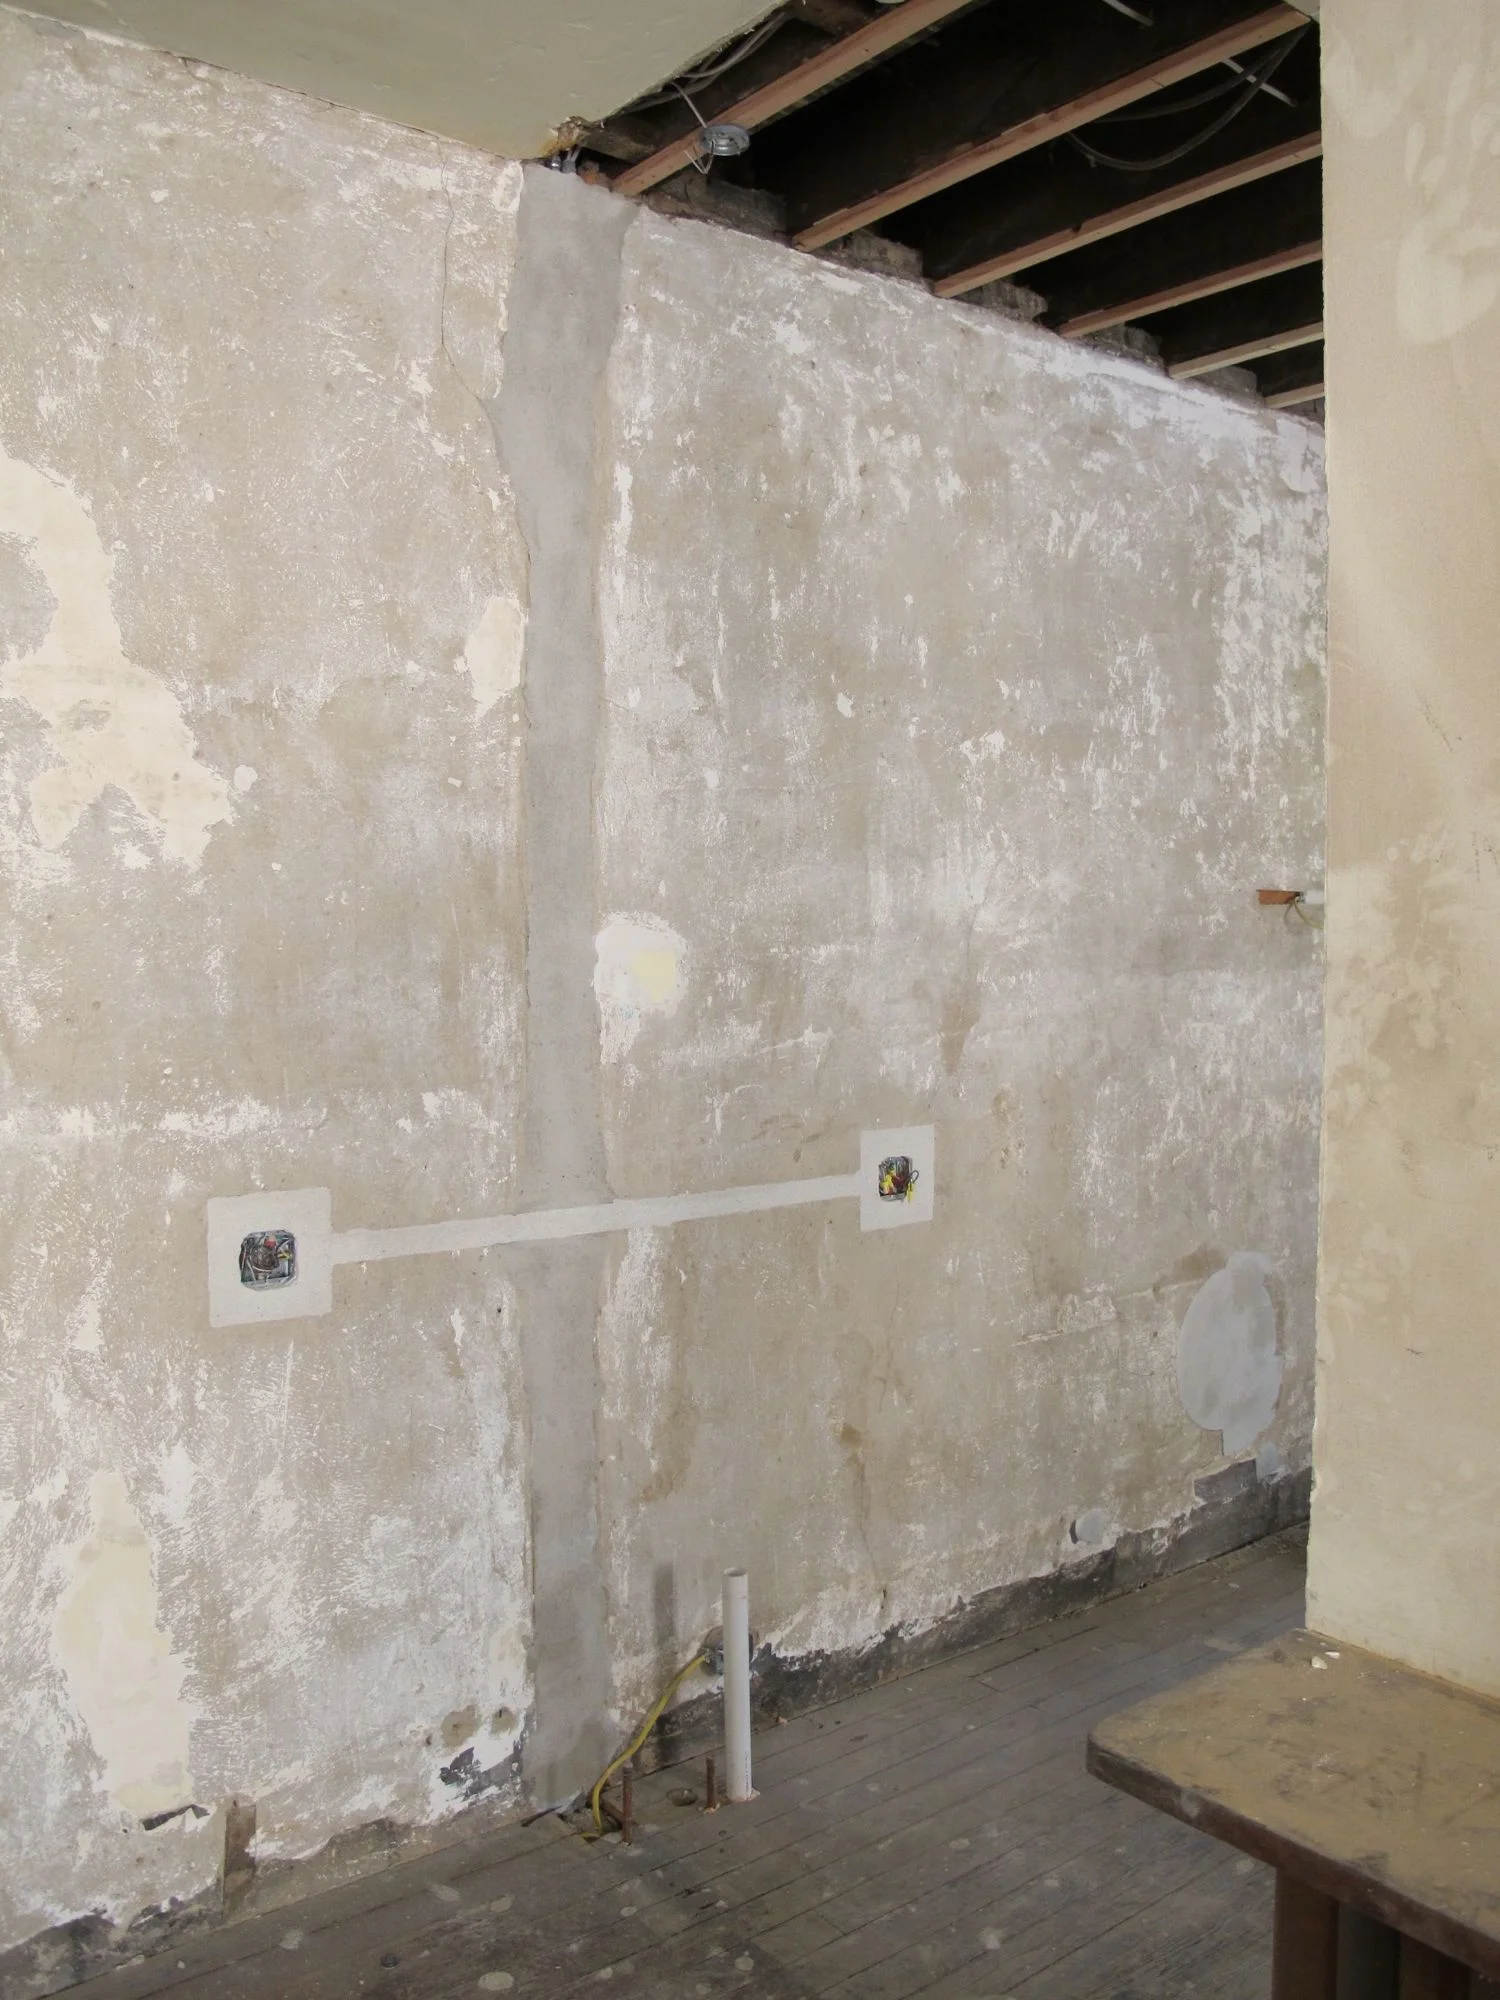
As noted in the “Clean Up” section, Mark began removing the plaster top coat in the kitchen where there was water damage from a leaky roof and a second floor supply line. The top coat, or ‘lime coat’ of plaster was compromised in many spots and delaminated easily. Attracted to surfaces with rich patinas, Mark fell in love with the color and texture of the ‘brown coat’, the second layer of the original three part process, and decided to extend that look from the kitchen into each of the more public parts of the house: the dining room, stairwell, and upstairs hallway. Luckily, the mechanical bond between plaster coats was somewhat compromised in those areas as well. The original plasterers probably allowed too much dry time between the ‘brown’ coat and the final lime coat. To seal the exposed surfaces, Mark sanded and wire brushed them, and then finished them with a thinned-down water-based varnish called Crete-seal.
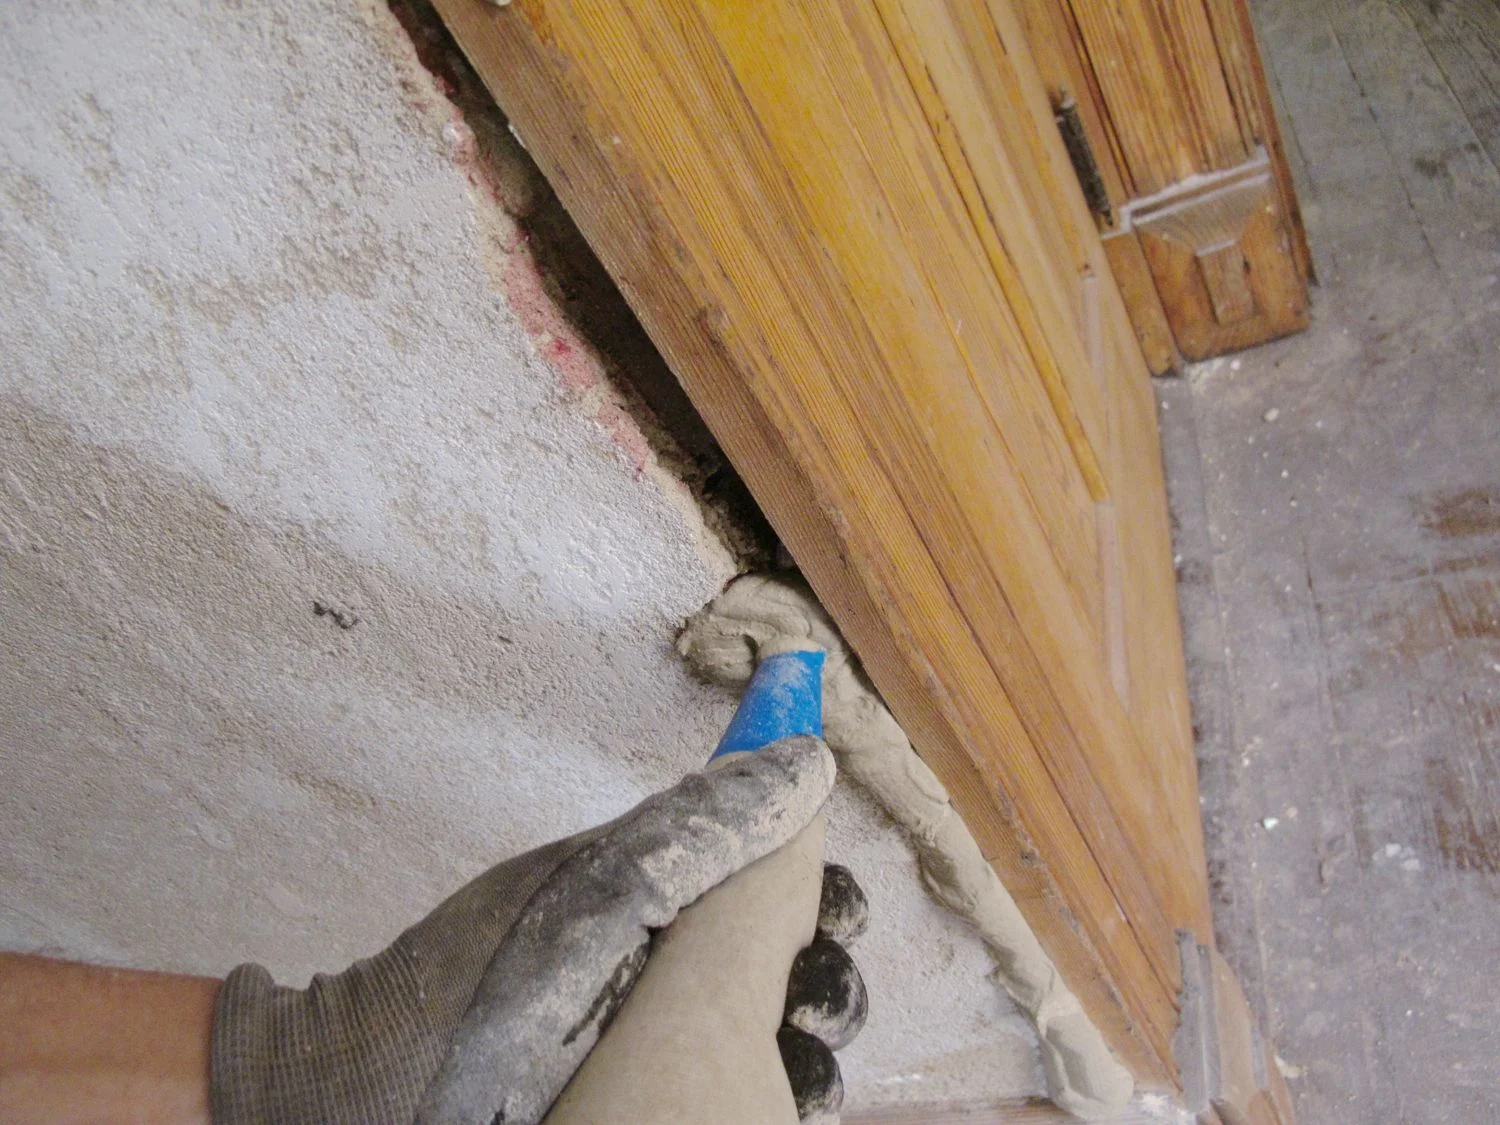
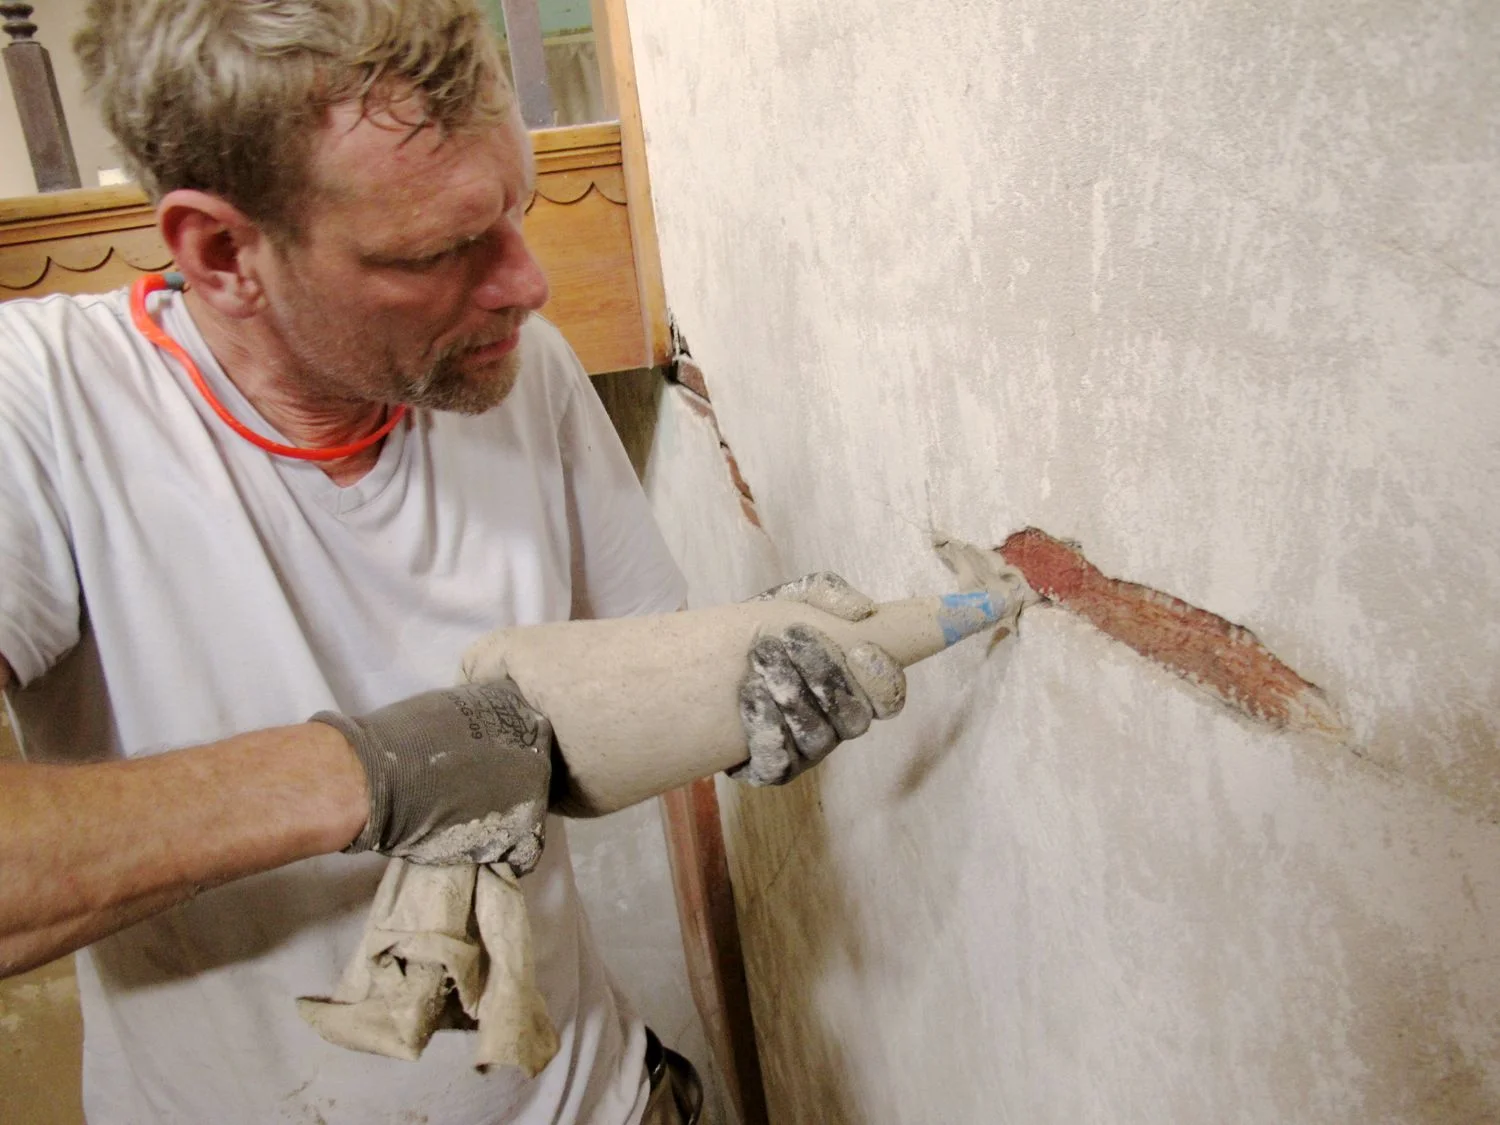
In many places, the exposed ‘brown’ coat wall needed reinforcing. Gobs of drywall mud smeared on with conventional plastering tools like drywall knives wasn’t going to cut it… it would have adversely affected the raw look that Mark had become enamored of. He also liked the look of the cracks, but bringing back the structural integrity of the plaster was crucial. The solution was to use the bag that you see in the images to the right. Commonly used for brick work, it allowed Mark to squeeze an excess of plaster into the problem areas and level it afterwards by using a plaster plane, which maintained enough texture to keep the surface homogenous with the rest of the wall.
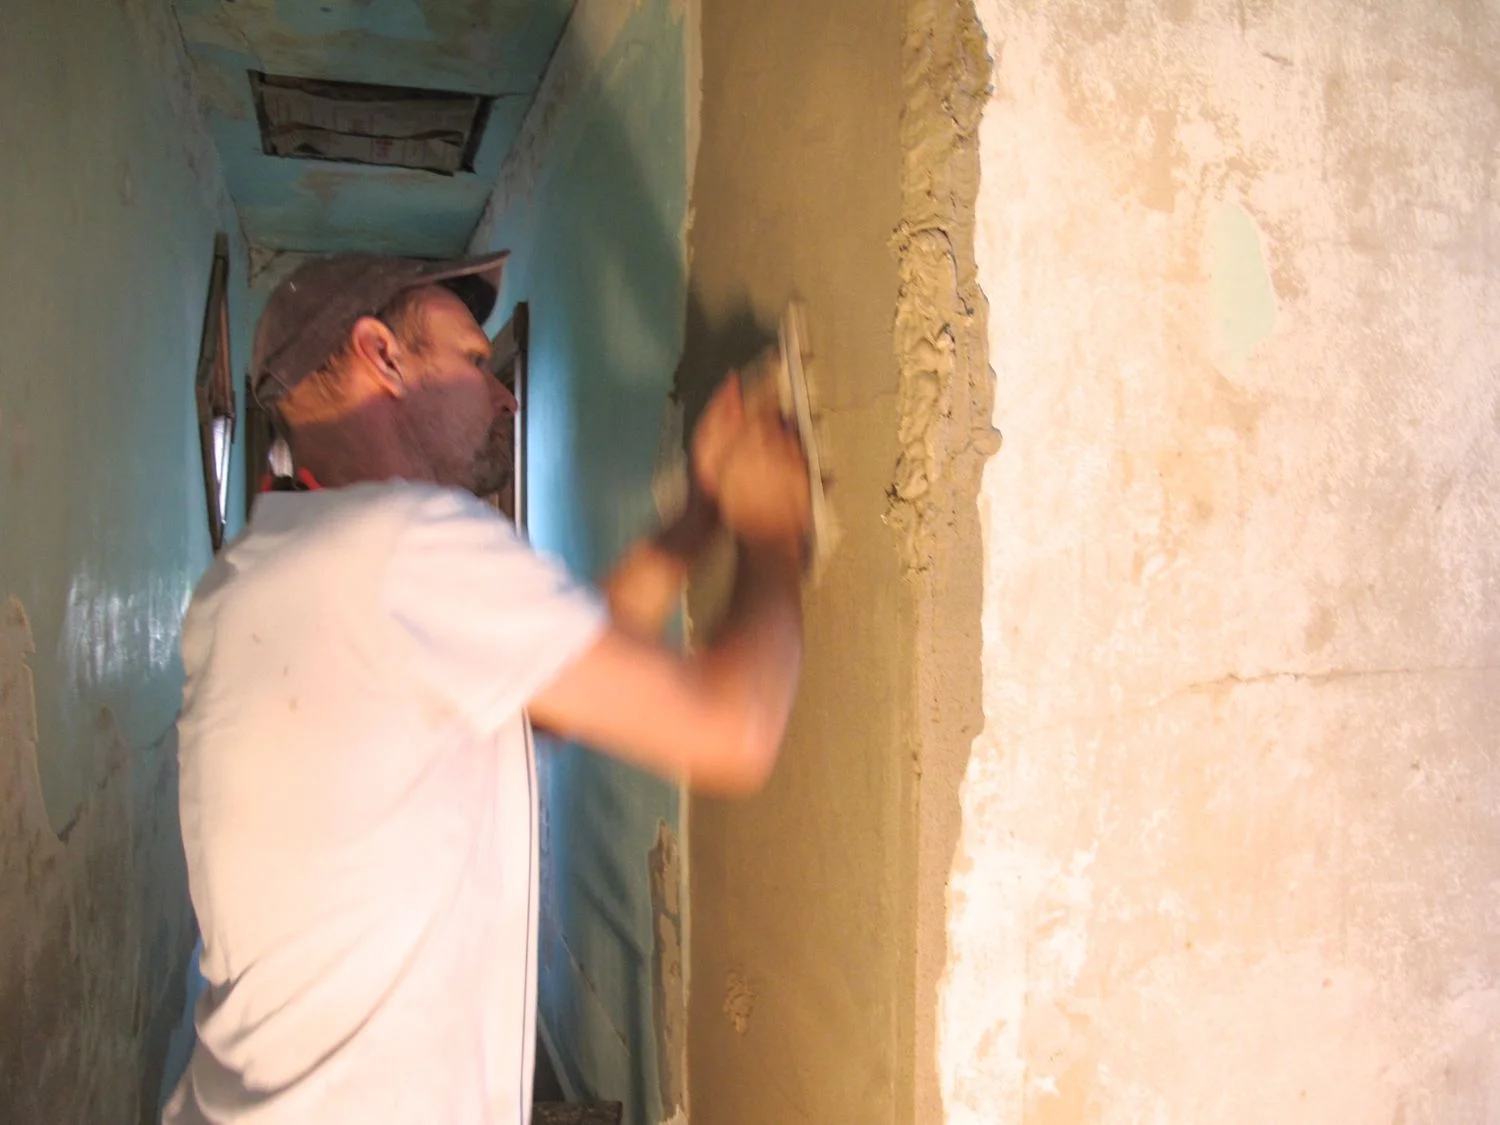
In addition to showcasing the inherent beauty of the underlying original plaster, Mark used the walls to his creative advantage by inscribing or adding geometric forms. Some of this process is covered in Gesture, but it deserves mention here as well, since the impact was beneficial not only from an artistic perspective but a structural one as well. In the upstairs hallway, a portion of the wall had a finish plaster coat that very stubbornly clung to the brown coat underneath. At the same time it was an area with a lot of cracking, and inconsistency in the surface. These conditions inspired Mark to consider adding a raised form with a finished surface to this part of the wall, which would eventually become ‘The Blue Worm’.
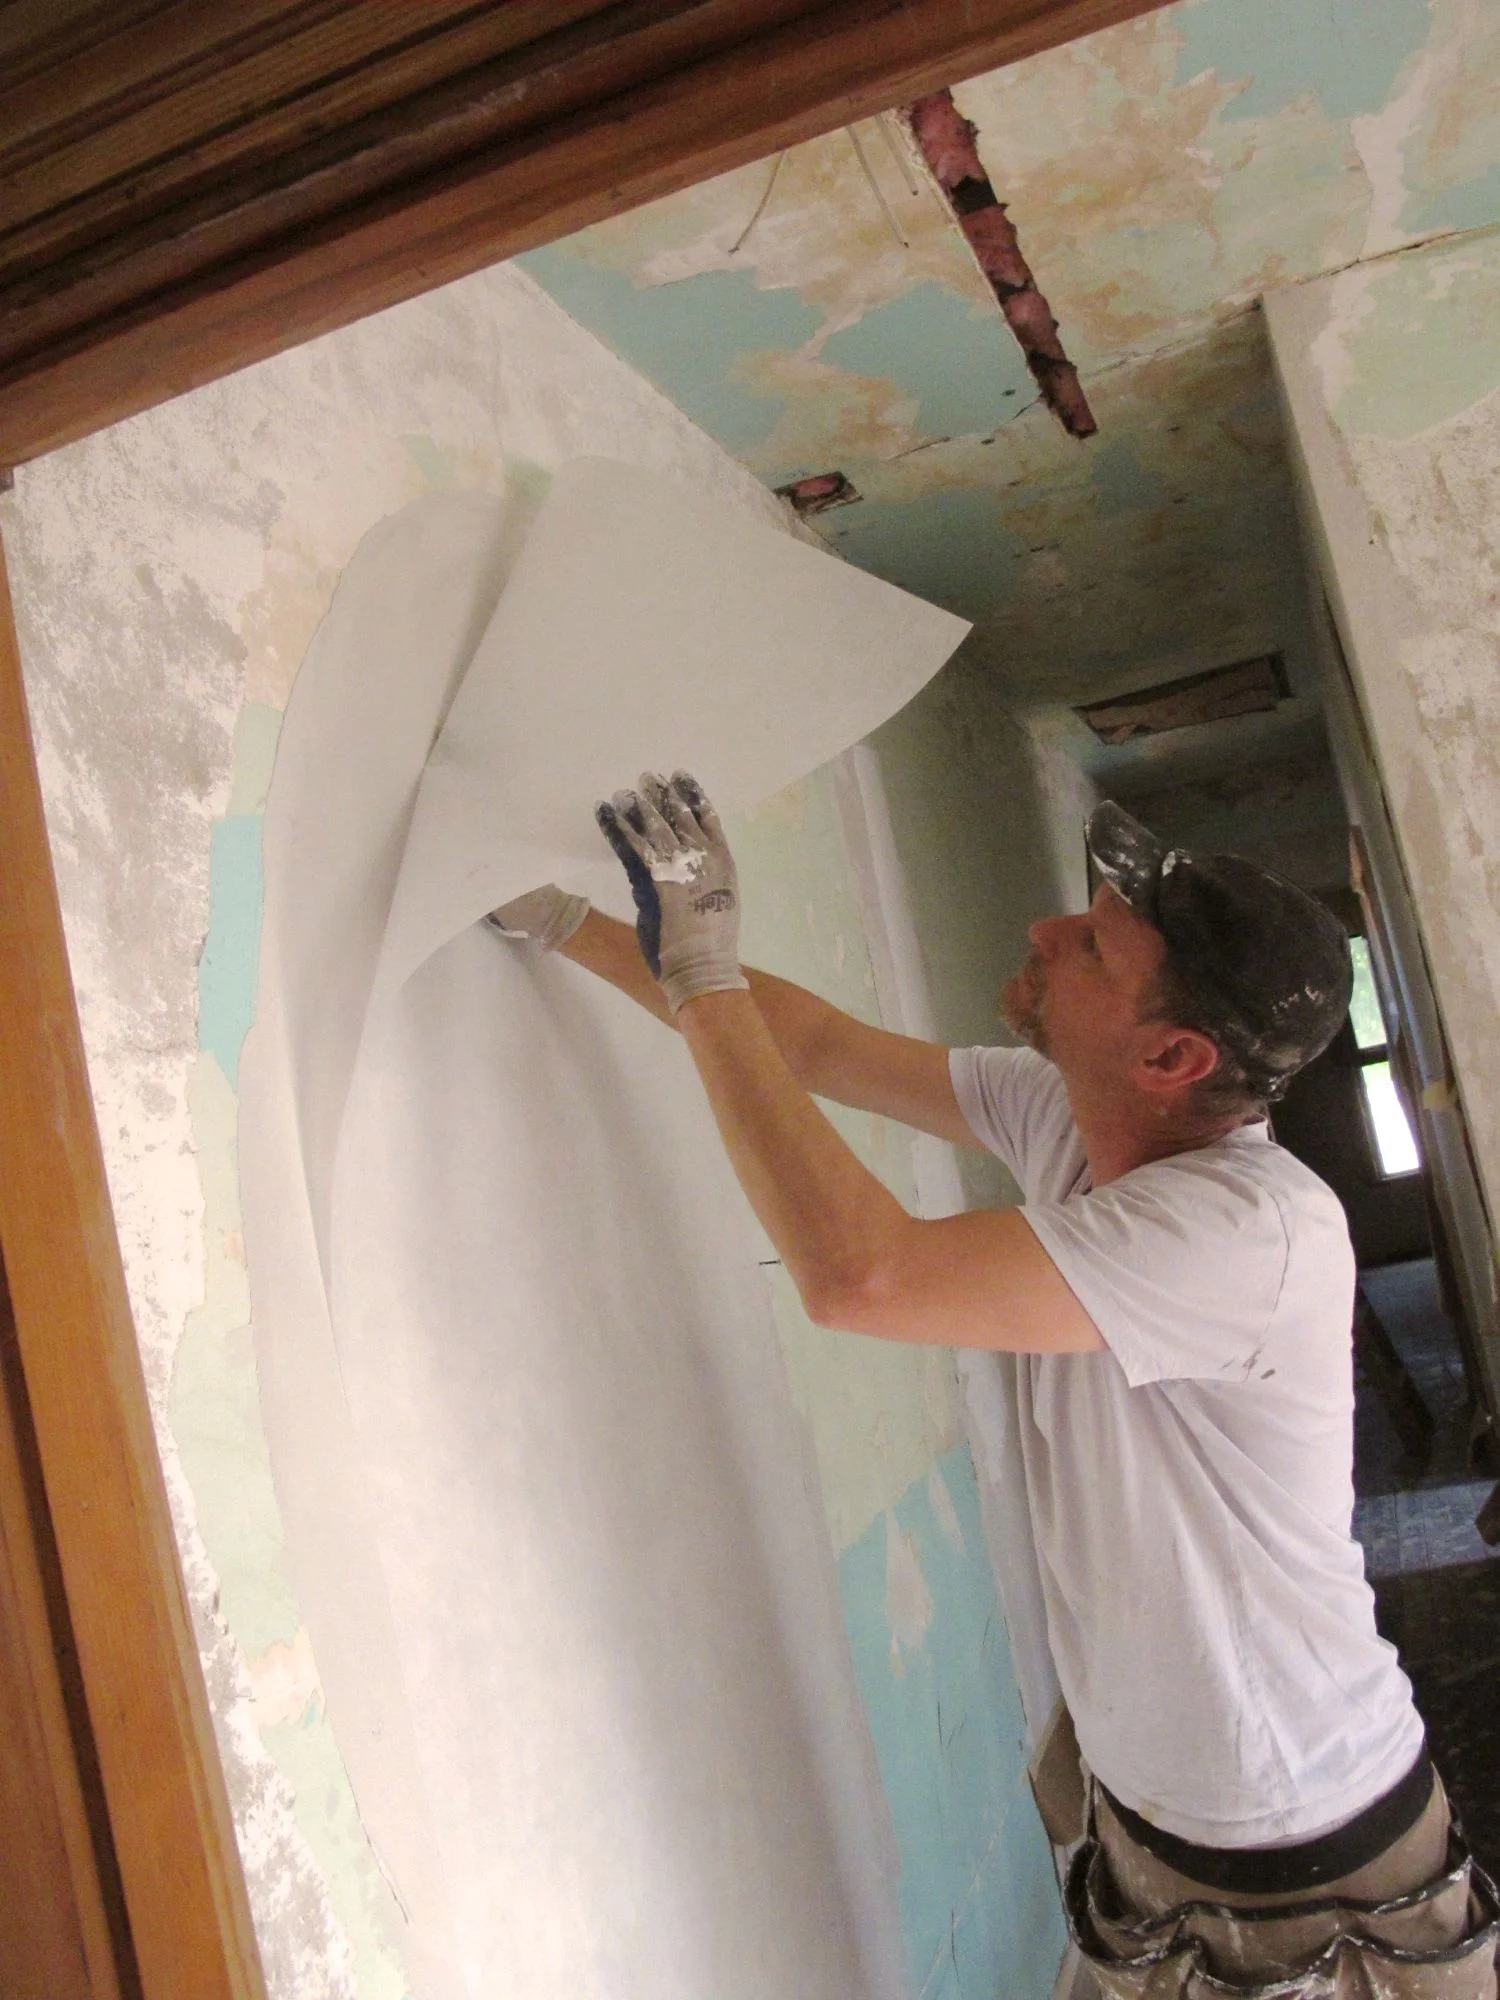
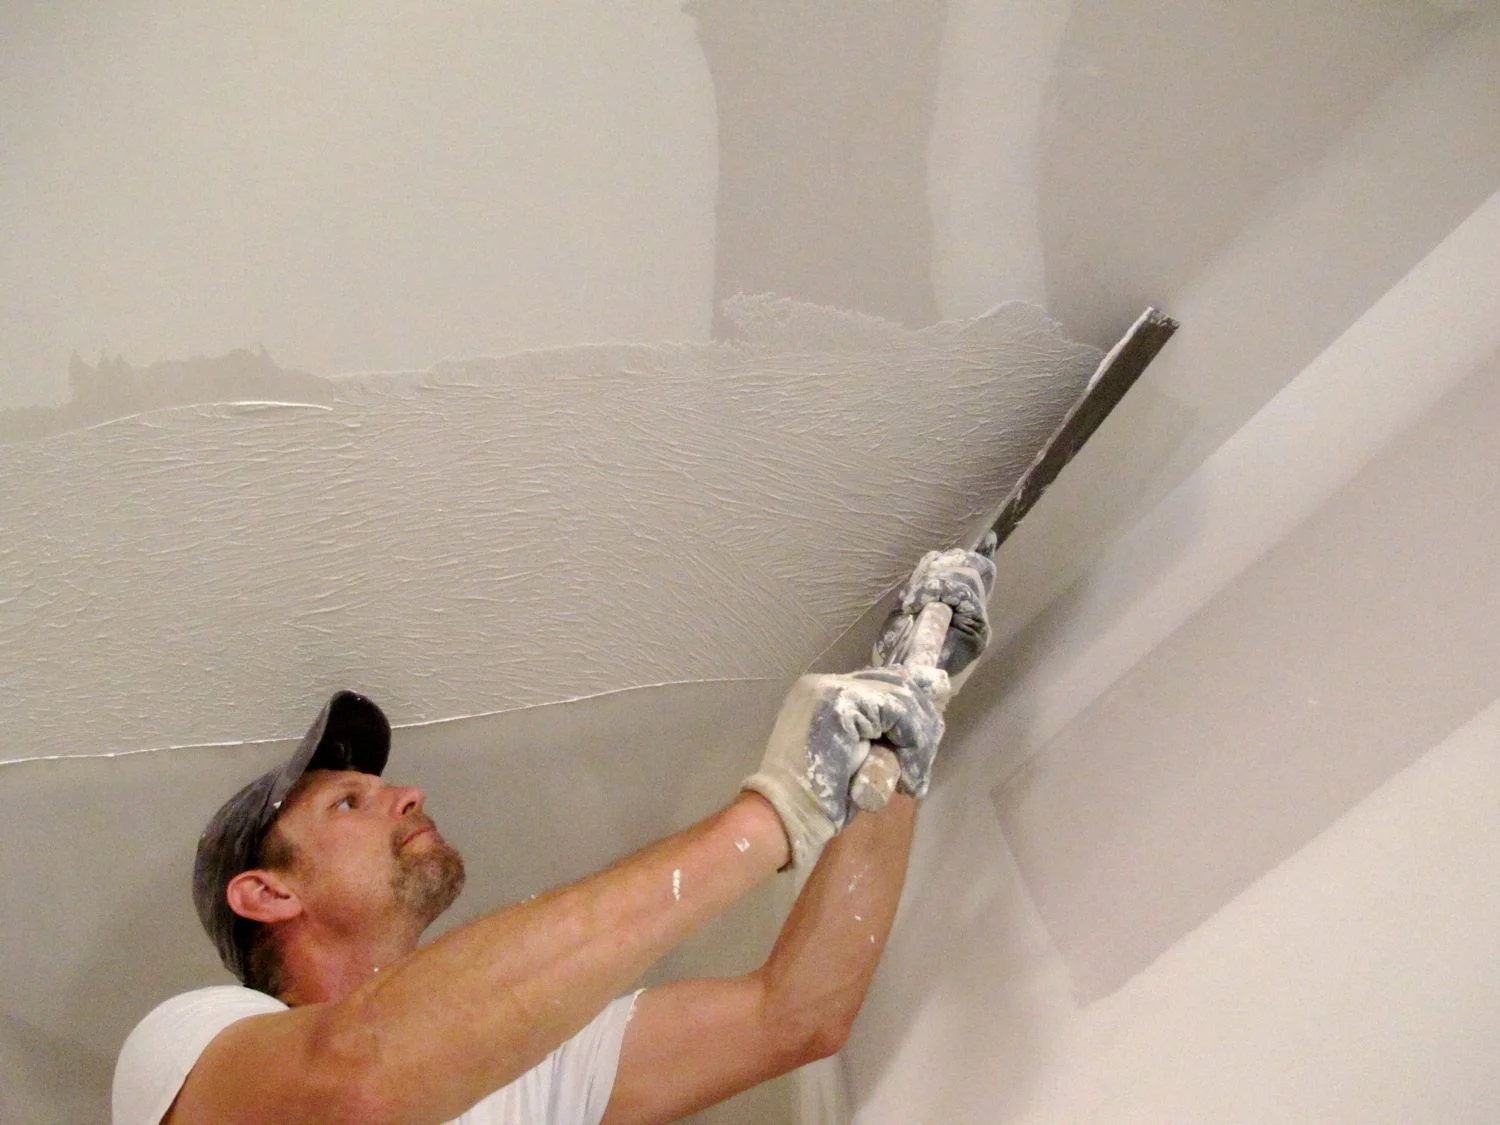
In Cincinnati, it’s common to restore plaster walls with a product called Glidwall, named after the Glidden paint manufacturing company. Glidwall is a thin randomly-woven fiberglass sheet originally designed to be imbedded with a paint-like product against the wall. Mark, like many contractors, will use joint compound, or ‘mud’ (the material used to fill in and smooth the plaster boards we commonly use in the United States) to adhere the product. The result is a very strong wall finish. Glidwall found its role in the project wherever there was significant structural compromise to an area of wall, in addition to the entirety of the “Blue Worm”. For more technical information about this product, consult the 5K Blog.
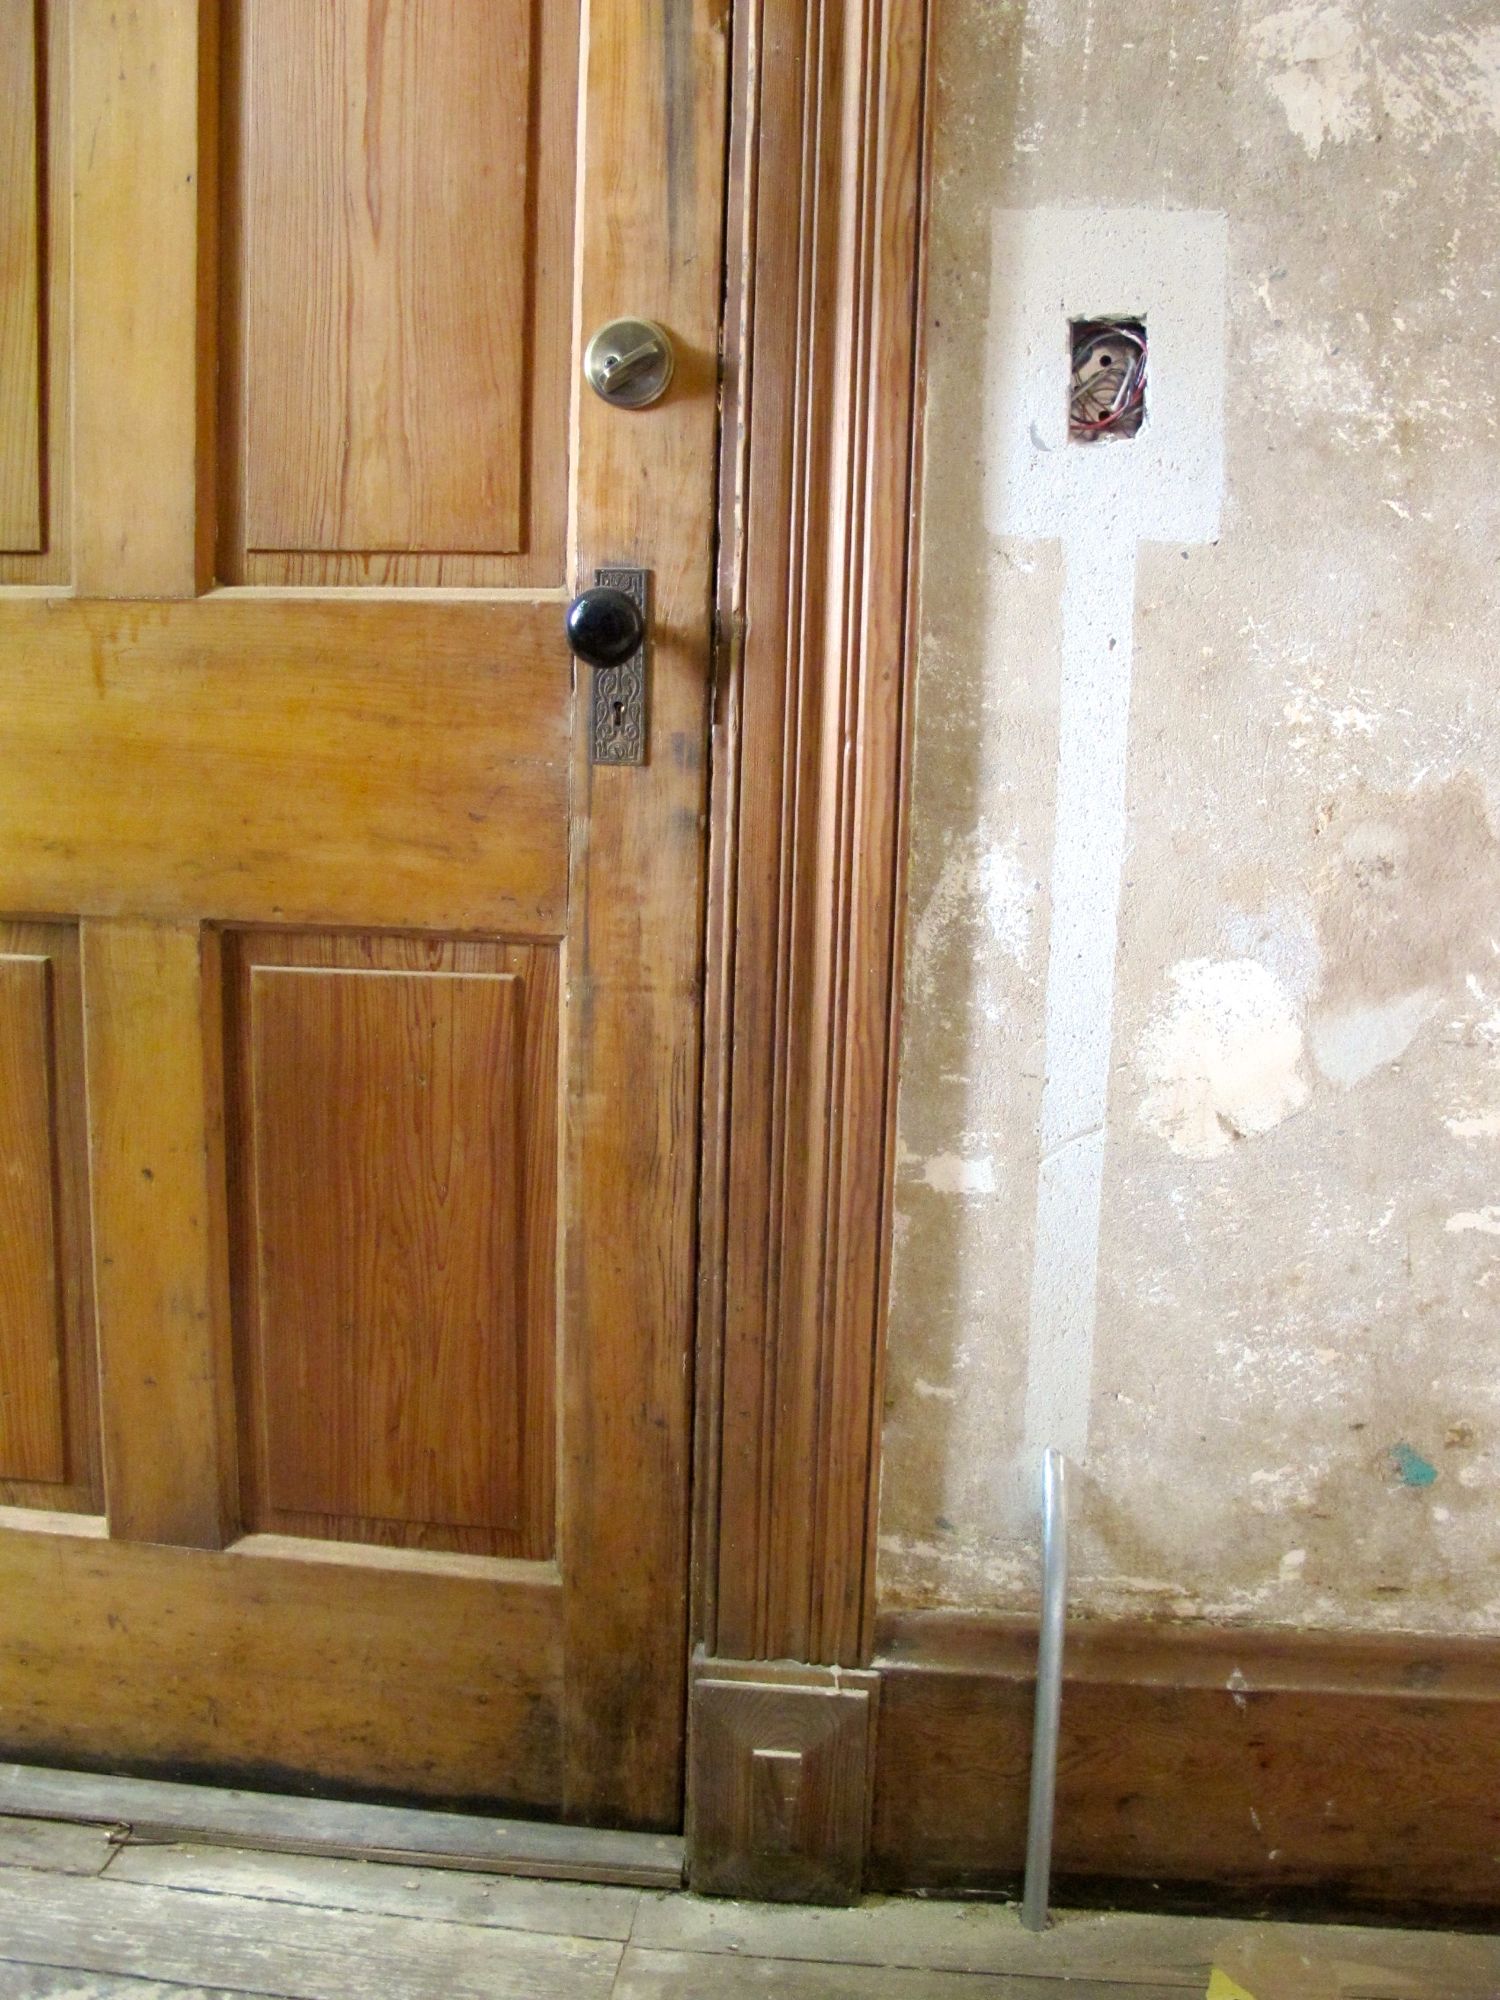
The wall of the downstairs bathroom had the original tiles still in place. Mark kept half of them for some historical reference flair, and added wainscotting using salvaged beadboard. He used a hand-held power planer to remove the surface paint, leaving behind a pin-stripped look. Conduit for outlets or switches was embedded in certain parts of the wall, and Mark used a lightly tinted plaster to cover the ‘wounds’.
